Indiana University Libraries Book Repair Manual
Custom Pamphlet Binder
Treatment Criteria:
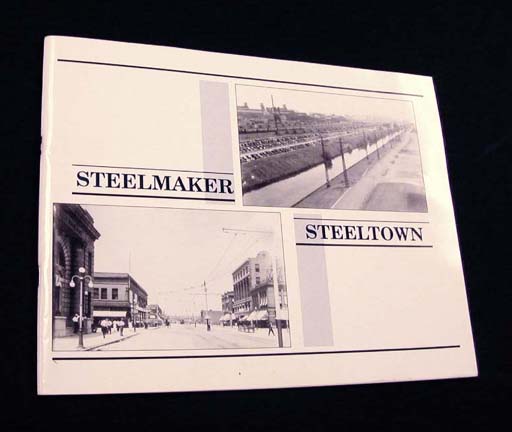
A custom binder is constructed to house the occasional oversize or odd-shaped pamphlet. Our example is one of the commonest of these materials, an oblong pamphlet, i.e., one which is substantially larger in the width than in the length.
Tools Needed: |
Materials Needed: |
|
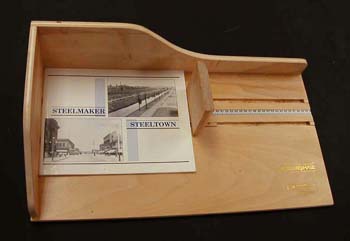 | The pamphlet is first measured using the MEASUREpHASE. First the width … |
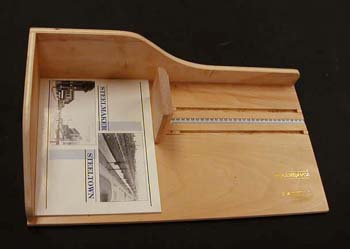 | …and then the length. There is no real need to measure the thickness, as you will see in upcoming steps of the procedure. |
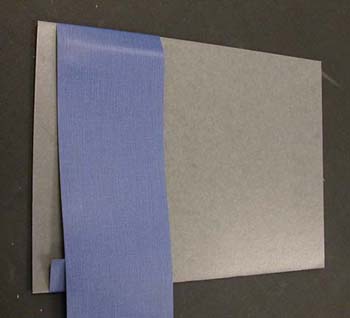 | The material used for the boards of the binder is grey/white board.
|
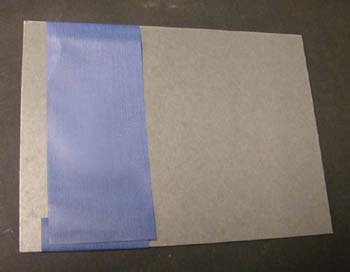 | The long end of the buckram is cut square across, about ¼" from the bottom edge of the boards. |
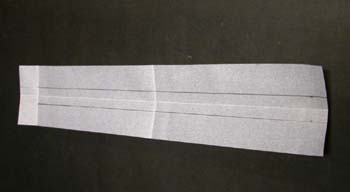 | The cloth is folded lengthwise down its center, and it is marked ½" each direction from the center crease. The spine edges of the boards will be aligned with these lines.
|
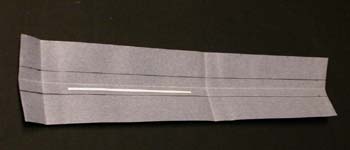 | If the material is from a collection that uses security/detection strips, it is at this time that the strip is affixed to the inside of the spine cloth, where it will be fully concealed. |
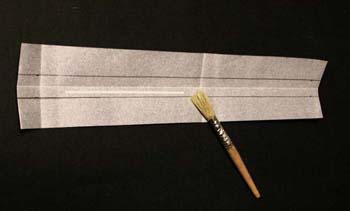 | We are now ready to glue up the cloth. PVA mixture is used for this. |
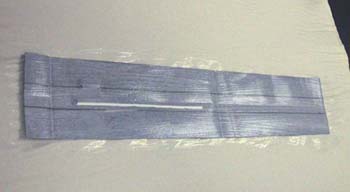 | The entire inner surface of the cloth is covered. |
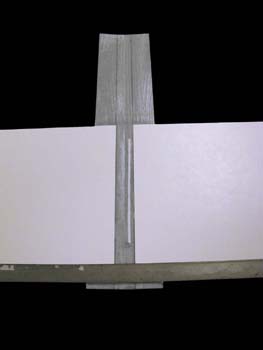 | The boards are aligned against the marks at the spine edges and against a straight-edge at the bottom. They are situated 1" from the bottom to allow for the turn-in. |
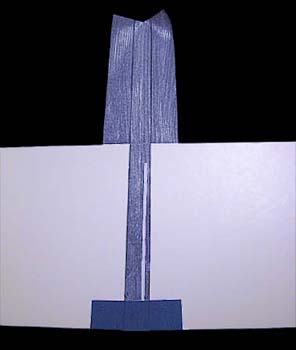 | The turn-in is folded over, |
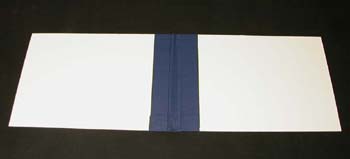 | and then the long end of the cloth is folded over. |
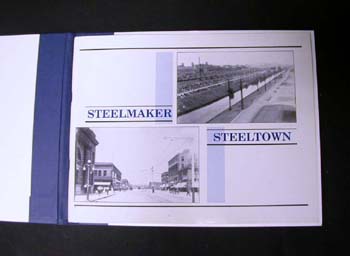 | The binder is now ready to receive the pamphlet, which can be affixed by means of stitching, stapling, or housing in an inner pocket (our example will be stitched in, since it is a single-fold pamphlet of healthy paper). The only thing left to do beyond that is to attach/re-attach any labeling, such as call number label or barcode, if needed. |
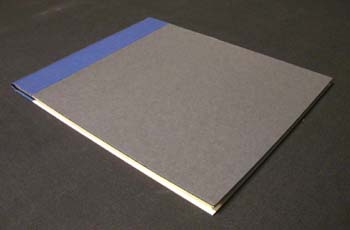 | And the pamphlet with custom binder is finished and ready to circulate. |