Indiana University Libraries Book Repair Manual
Mylar Encapsulation
Treatment Criteria:
- This treatment is used to protect single-sheet flat materials. Materials thus treated are normally stored flat, but encapsulated items can be hinged and bound as leaves into an adhesive binding or hinged together into folios and bound into a sewn binding structure. Encapsulation is also a good solution for flat materials that need protection and also need to be viewed on both sides.
- There are at least two approaches to Mylar (polyester film) encapsulation, both of which are covered within this manual; one using an ultrasonic welder, the other using double-sided tape. The ultrasonic welder is an expensive piece of equipment, and not everyone can justify or afford the purchase of one. The tape method of encapsulation does pose a risk of damage to encapsulated items due to contact with the tape's adhesive, while the welder method offers absolute safety in this regard. However, being as this risk is minimal and can be all but eliminated by careful handling and storage, the tape method is regarded as a satisfactory alternative.
This first section of directions is for performing the encapsulation with double-sided tape. Click here for instructions on how to perform the encapsulation using an ultrasonic welder.
Tools Needed: |
Materials Needed: |
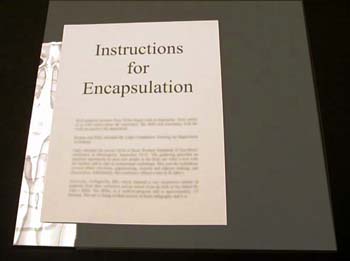
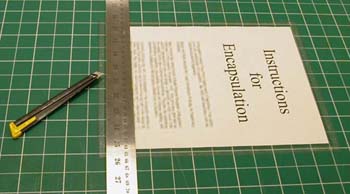
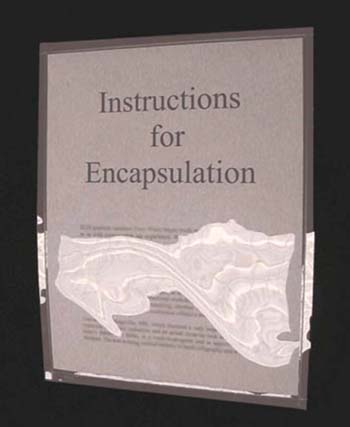
| The procedure begins by locating two pieces of Mylar which are at least 1" larger in both dimensions than the item to be encapsulated. |
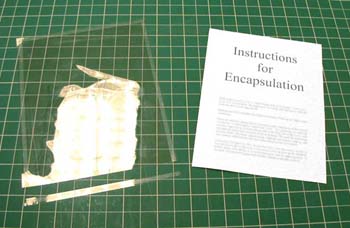
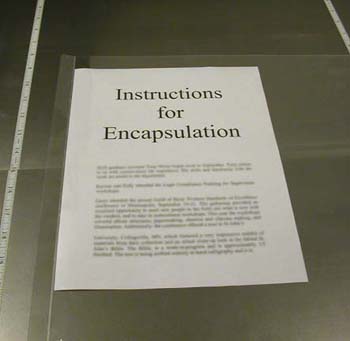
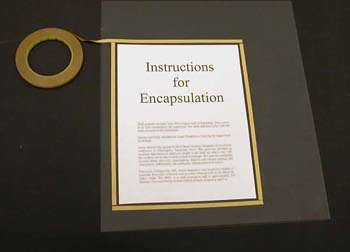 | The subject is placed on one sheet of Mylar and framed with the double-sided tape, approximately 3/8" from the edges. |
 | The paper backing is peeled off the tape. |
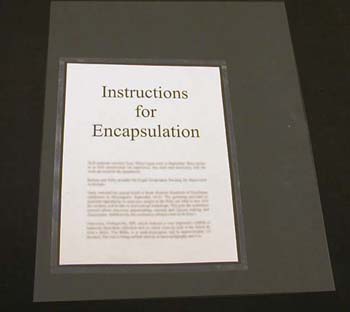
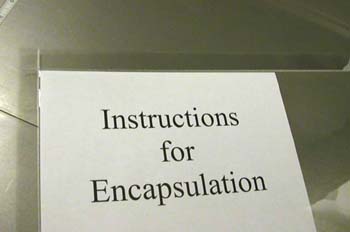
 | The second sheet of Mylar is placed on top and the two are bonded by the tape. |
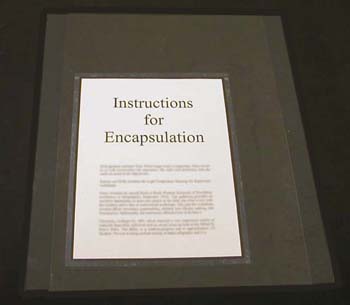
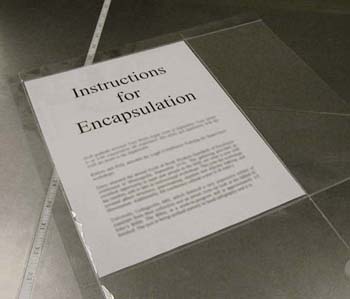
 | The excess Mylar, if any, is trimmed away from the outer edges, usually leaving about ¼" outside the tape. |
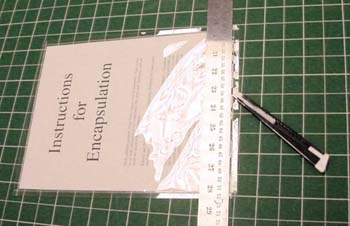
 | One very good feature of this treatment is that it is totally and easily reversible. If ever the piece needs to come out of the Mylar, it's a simple matter of cutting the Mylar along one edge … |
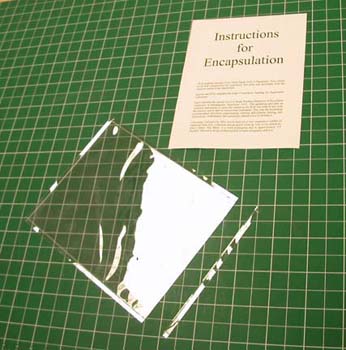
 | … and removing the piece. |
Mylar Encapsulation using Ultrasonic Welder
 | The procedure begins by locating two pieces of Mylar which are at least 1" larger in both dimensions than the item to be encapsulated. |
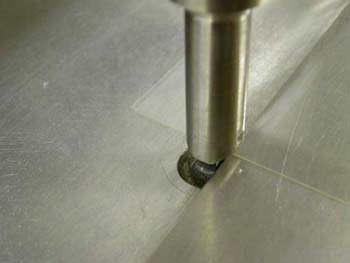 | The two pieces of Mylar are aligned flush at the edges and placed on the table of the ultrasonic welder so that about ¾" of it extends beyond the edge. This image shows a close-up of the welder tip. If the piece is rectangular, the first weld should be made along one of the long sides.
|
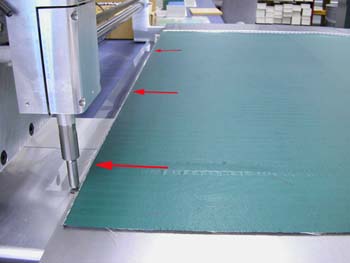 | And this image shows the view down the table's edge, along which line the weld will be made. Also shown is the green magnetic hold-down mat. This is positioned over the work and with its edge just about 1/8" to 1/4" from that of the welder's table (red arrows). The table being made of steel, the mat clamps magnetically to it, holding the Mylar securely in place. The mat somewhat obscured the view of the procedure in later images, so it only appears here. But any time a weld is being made, the mat needs to be in place. |
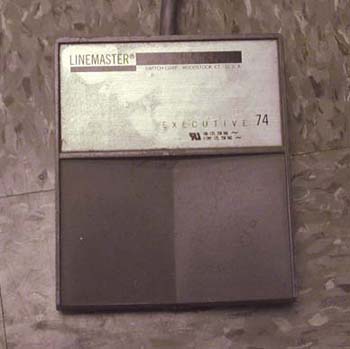 | The welder is controlled by a foot pedal. It can be made to move either direction by stepping on either the right (forward) or left (reverse) side of the pedal. |
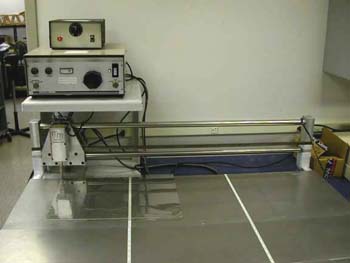 | This image shows the welder with the welding head in the beginning location. |
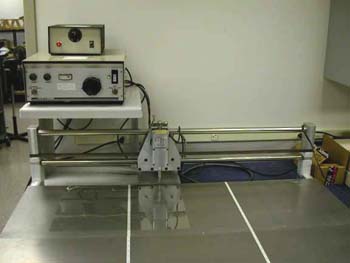 | And by comparing this image with that of the previous slide, we see the direction the head moves in making a weld.
|
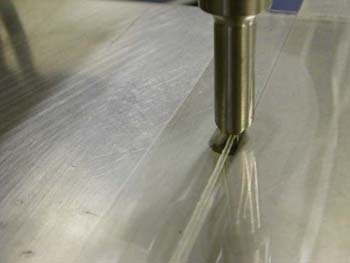 | Now we see the weld in progress. The line that looks like a jet stream is the weld. |
 | The first side being welded, the material is now placed between the two pieces of Mylar and butted up to the weld. |
 | The material is situated in the welder so that the weld will begin at the edge bearing the first weld. If the piece is situated so that the second weld ends at the edge with the first weld, there is risk of generating a wave of slack in the Mylar as the welder head makes its way across the width of the work. If that happens, the piece must be removed from the enclosure and the procedure started over with new Mylar. This risk increases proportionately with the size of the item being encapsulated. Of course we have to end our last weld at another weld, and when encapsulaing large items, extra care is taken to avoid ending up with slack at the fourth and final corner. So, once the first weld is made, the rule to remember is:
|
 | The second side is welded. On to the third and fourth sides. |
 | All four edges are now welded. |
 | Finally, the outer margin of excess Mylar is trimmed to about ¼" to 3/8" outside the welds. I've used the reflection of the Mylar to show about how it should look. The piece is now finished. |
 | One very good feature of this treatment is that it is totally and easily reversible. If ever the piece needs to come out of the Mylar, it's a simple matter of cutting the Mylar along one edge … |
 | … and removing the piece. |