Indiana University Libraries Book Repair Manual
Flat Paper Mend
Treatment Criteria:
Paper is torn. Mending with a strong material that adds minimal bulk is desirable.
Tools Needed: |
Materials Needed: |
|
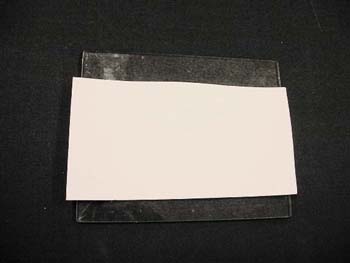
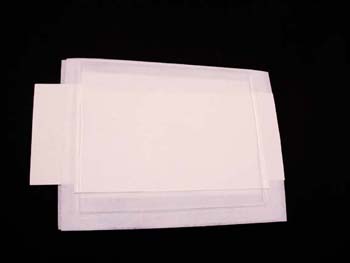
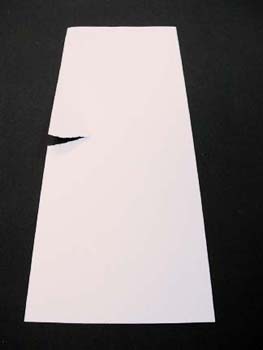 | For our example, we will use a piece of ordinary paper which we have torn. Applications of this treatment would include leaves of books, maps, posters, and any other flat paper mending needs. |
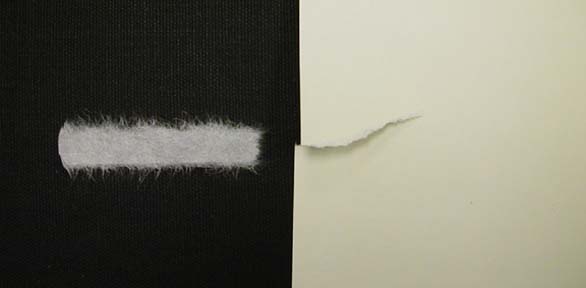
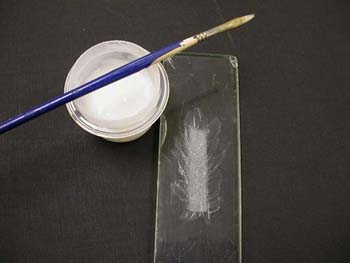
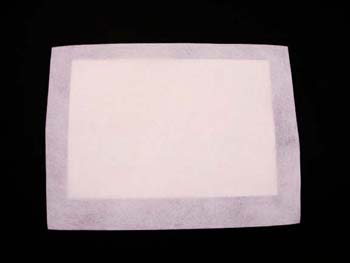
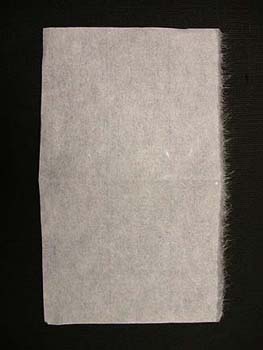 | We will be using Japanese tissue. As you can see by the fuzzy edge, it is a very long-fibered paper, which is why it is extremely strong for its weight. |
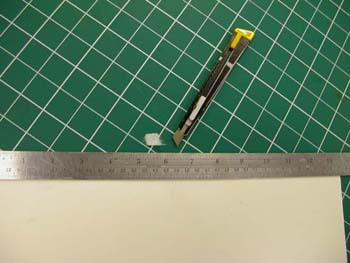
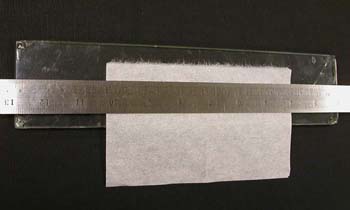 | The fuzzy edge is desirable, as it allows the edges of the mend to be feathered out to near-zero thickness, eliminating any step at the edges. This edge is not achieved by cutting the tissue, but rather by controlled tearing. This procedure begins by placing a piece of tissue on a glass or Plexiglas board, on a cutting mat, or right on the table surface, if it is smooth and won't be damaged by water. A reliable straight edge, such as this steel ruler, is placed over the tissue at the distance of the desired width from the edge. |
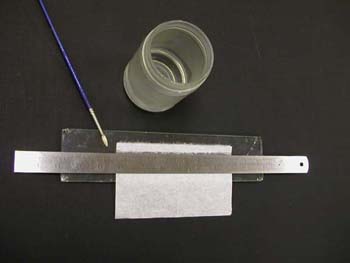 | Water is applied along the straight edge in a thin, even line using a small brush. |
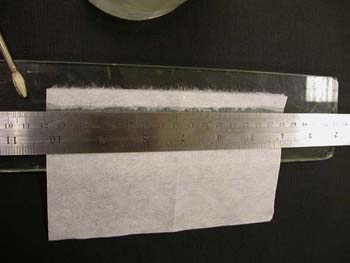 | Here is a closer look. This tissue is ready to tear. |
 | The index finger lifts the tissue from underneath, and the thumb bears against it while positioned at the edge of the ruler. Tearing is done with a sort of pinching action, the hand rolling and the thumb moving toward the index finger. Pulling is in the outward direction (away from the edge of the ruler), rather than upward. Pulling in the latter direction should be kept to a minimum. Moving in small lengthwise steps, the tearing continues until a strip of tissue is freed from the sheet. |
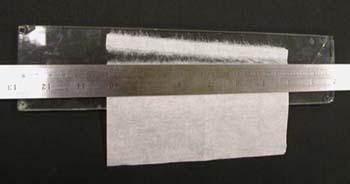
 | The strip is shortened to the desired length. Since our tear runs out to an edge of the paper, we want to make the length of the tissue strip just greater than the length of the tear. By doing so, we can leave a bit protruding beyond the edge of the paper and then trim the excess neatly at the edge after the mend has dried. Tearing the strip to length can usually be done dry if the strip is not too wide, but if it doesn't yield the fuzzy edge it should be done over by the same wet method as that used to make the lengthwise tear. |
 | Now we are ready for our adhesive. We use wheat starch paste for mending. The tissue is placed again on the glass board and the paste is applied to it using a small brush. Care is taken to always brush outward at the edges, fanning out the long fibers of the fuzzy edges. If we brush inward at the edges, the fibers will roll up into a thick mass and it is difficult to get them fanned back out. |
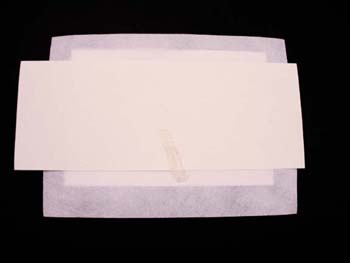
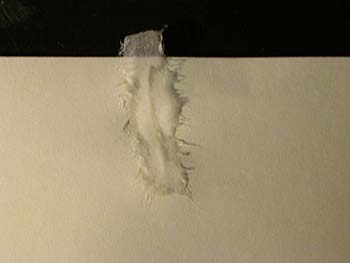 | The tissue is carefully lifted from the glass and turned over so that the side we just pasted is the one in contact with the paper being mended. Since our tear runs out to an edge of the paper, the length of the tissue strip is a bit greater than the length of the tear. The excess is left protruding beyond the edge, as mentioned a couple of steps back. |
 | Using the same outward brush strokes as those employed for applying the paste, we smooth the tissue down to the paper, feathering out the fuzzy edges. A relatively dry brush can be used for this, or a microspatula, or your finger. After smoothing out the mend, you can put a piece of Reemay on top and smooth the mend down further with a bone folder. |
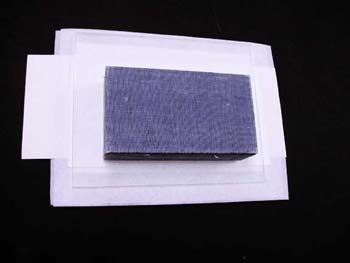
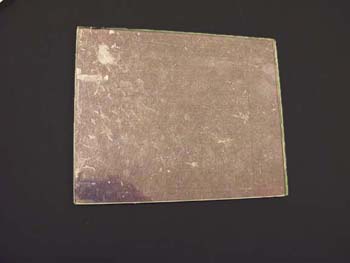 | Now we begin to make our "sandwich" for drying the mend. First, a glass or Plexiglas board is placed on a level surface. |
 | On top of this goes a piece of cotton blotter to absorb water from the mend. |
 | Next, a piece of reemay. This is used as a mask; the paste will adhere to the blotter but not readily to the reemay. |
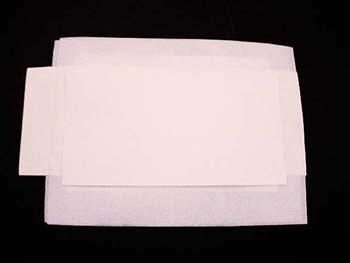
 | Now we place our mend on top. |
 | From here, we reverse the layers; another piece of reemay, |
 | then another piece of blotter, |
 | another board, |
 | and finally, a weight. A brick is pictured here, but for a small mend, a lighter weight is also effective. |
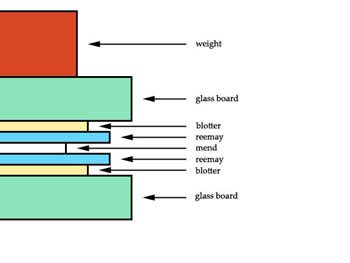 | Here is the drawing version of the completed sandwich. If the mending is being performed on a leaf of a book, the procedure is the same but the sandwich naturally differs a bit. The leaf is sanwiched between reemay and blotter as shown, but mylar replaces the glass boards. Once the sandwich is in place, the book is closed and either placed under weight or pressed. |
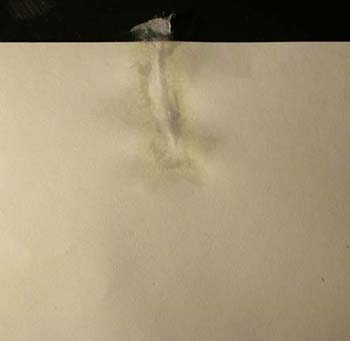
 | The mend is left to dry. A small mend such as this one should dry in ten minutes or so, depending on the environmental conditions. If the mended area feels cool to the touch, it isn't dry yet. Also, if the overhanging tail end of the mend does not come away from the Reemay easily, it is likely not dry yet. Once dry, the tissue is trimmed off flush at the edge. |
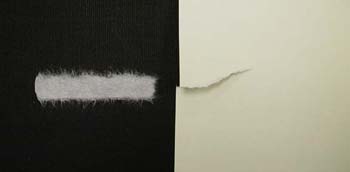
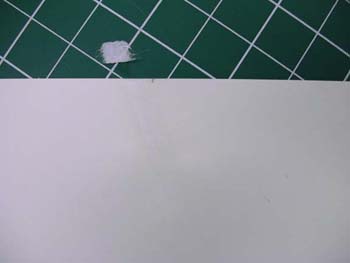 | And the mend is finished. It is nearly invisible on the white paper. It is sometimes a bit more visible if the paper is yellowed, but off-white tissues are available and are usually used on yellowed paper. In any case, the mend is not normally so opaque as to obscure text. |