Indiana University Libraries Book Repair Manual
Index Addition
Treatment Criteria:
This treatment offers a good solution to the problem of adding single-fold items to hardcover books, as it allows the item to actually hinge full-swing and to open nicely without stress to its binding.

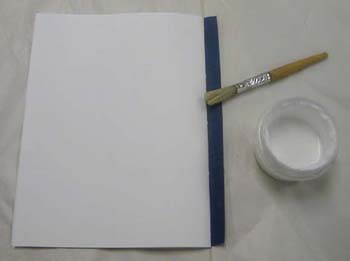
Tools Needed: |
Materials Needed: |
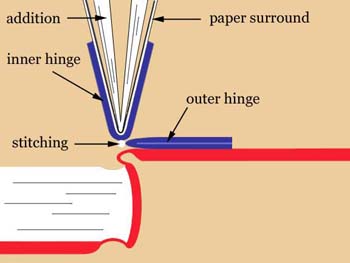 |
Before we get started, here is a drawing that can be referred to if necessary, showing the direction we will be headed, structurally. This drawing also serves to illustrate the three main components of this treatment, the inner hinge, outer hinge, and paper surround.
|
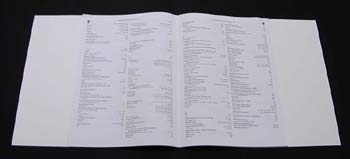
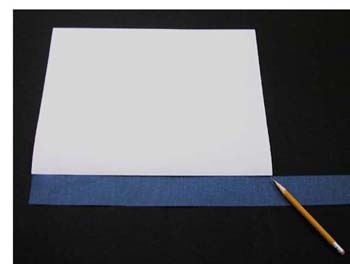
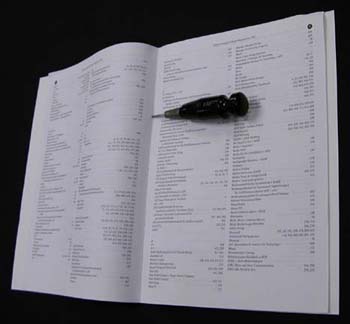
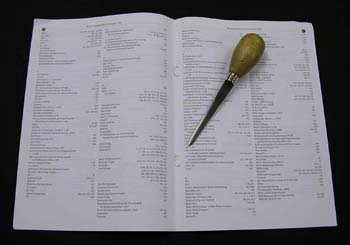 | As is usually the case with single-fold materials, we see that our example has staples through the fold. We remove them, using an oyster/staple knife. |
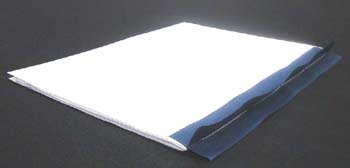
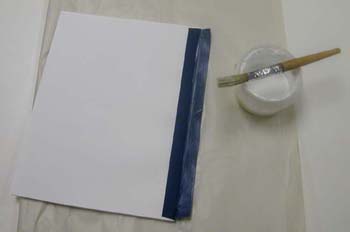
 | We need to make a paper surround for the addition. This will wrap around the material in the horizontal direction and serve as it outermost two leaves. It serves the purpose of allowing us to avoid gluing the inner hinge directly to the addition, which we naturally do not want to do. A piece of substantial paper is cut to the length of the addition. We use 80 lb. text weight Mohawk Superfine. |
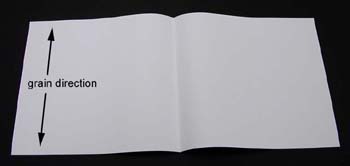 | The paper is itself single-folded. The illustration shows the grain direction. |
 | Though the paper is cut to finished size in the length, the width is left excessive. |
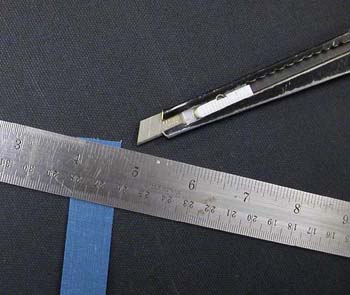
 | If necessary, the paper is marked to leave only about ¼" to ½" of excess width. |
 | And the paper is trimmed. |
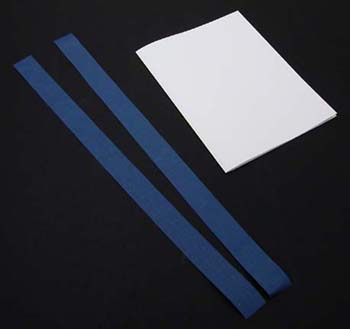 | We now take two pieces of hinge cloth. |
 | The cloth is marked to the length of the addition … |
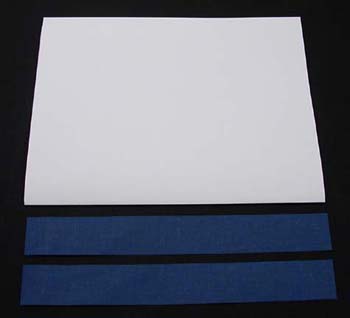 | … and trimmed. |
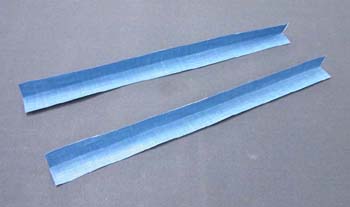 | The pieces are folded in half lengthwise and a hard crease is made, using a bone folder. |
 | The pieces are trimmed at a slight inward angle; i.e., long at the fold, short at the open edge. |
 | The cloth is situated on the spine edge of the addition and centered lengthwise. |
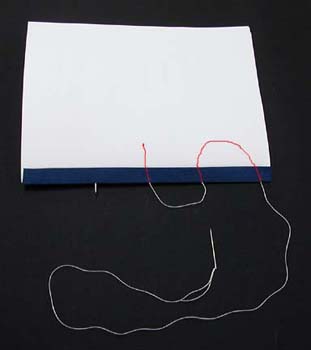
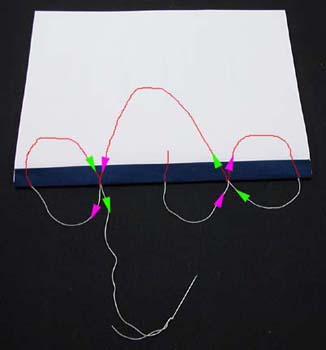
 | Some odd number of holes are pierced through the addition, the paper, and the hinges, using an awl, biological dissecting probe, or similar tool. Here we will use 5 holes. The reason for there being an odd number of holes is so there will be one in the center of the length. |
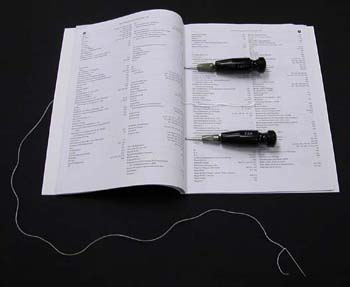
 | We are ready to stitch the assembly together. After threading the needle, we pull off enough thread to go about 2 ½ times the length of the addition as shown. Some find it helpful to use a couple of awls to keep the holes aligned while stitching begins. These are more visible in the next image. |
 | Stitching begins by going out from the inside, through the center hole. A tail of thread about 4" in length is left on the inside. |
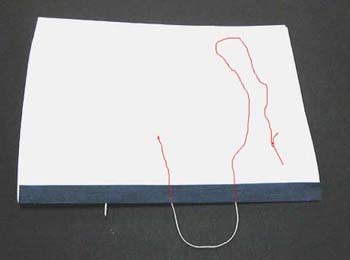 | Next, one of the awls is removed and we go back in through either of the holes adjacent to the center. The point protruding through the hole to the left of the center is the awl, not the needle. The parts of the thread that would be hidden inside the addition are drawn in, in red. |
 | Now we come back out through the hole on the end. |
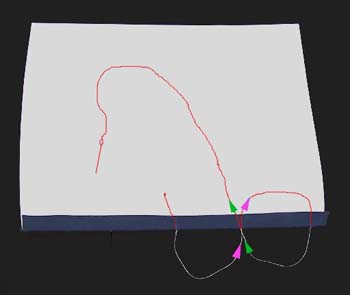 | And then we go back in through the hole between the center and the end. Because it gets a little difficult to illustrate what's going on where the stitching intersects at the holes, I added little colored arrows. So to see the route the stitching takes, just follow the arrows of corresponding color. |
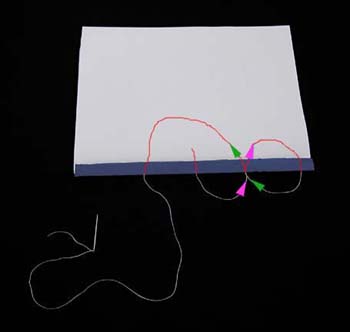 | Here is the only place we break sequence; we skip the center hole and go out through the one next to it. |
 | Back to sequence, we go in through the adjacent hole, the one on the end. |
 | Then we come out, again through the adjacent hole. |
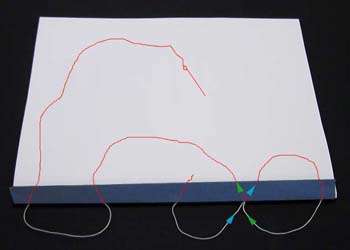
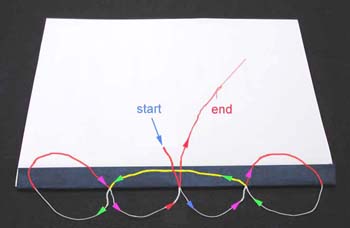 | And finally, we are at our destination (and back where we started). We go in through the adjacent hole, which is the center. The tail of thread we left at the start (blue arrows) and the ending needle end of the thread (red arrows) need to be on opposite sides of the thread that spans the center on the inside (yellow). Both the enlarged version of the image above and that of the next slide should prove helpful in making this clearer. |
 | The inside view illustrates clearly that the needle end and tail end straddle the center thread. This vertical stretch of thread in the center is from when we skipped the center hole while we were stitching. |
 | A simple knot is tied in the the ends of the thread. |
 | This knot is tightened down. |
 | A second knot, identical to the first, is tied. |
 | And it too is tightened down. |
 | The two ends are trimmed to approximately ¼" to 3/8" in length. |
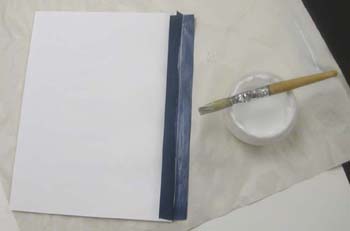
 | The inside surfaces of the hinges are glued to the paper surround. |
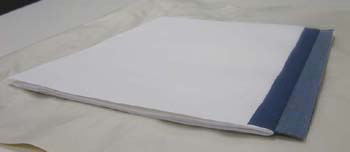
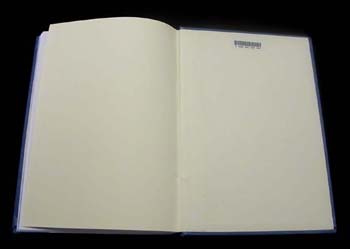
 | With the inner hinge glued to the paper, the result looks like this. |
 | Adhesive is applied to the inner surface of one of the two flaps of the outer hinge and the two are glued to each other. |
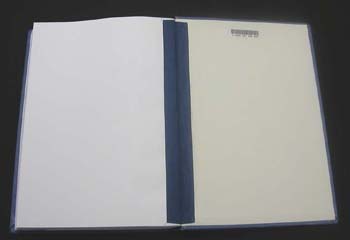
 | The two flaps of the outer hinge are now one. Again, the result looks like this. |
 | A straight-edge is placed on top of the paper surround and aligned flush with the fore edge of the addition. We now trim off the excess of the surround at the fore edge, following the straight edge with a razor knife. |
 | Adhesive is applied to one side of the now double-thickness outer hinge. Care is taken to ensure that it is the correct side; if the wrong side is glued and the addition installed, it will be upside-down. |
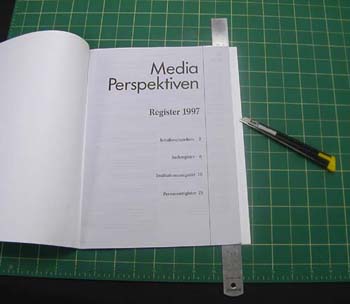
 | Here the recipient book is shown open to the back, where the addition will be installed. |
 | The addition is situated so the point where the inner and outer hinges meet aligns with the hinge of the book. A few trial closings may be in order to achieve the optimum lateral position. The book should close nicely and the outer hinge of the addition should remain fast to the inner surface of the book's back board. Once we are certain it is situated where it needs to be, the book is either pressed or placed under weights, normally until the following day, at which point our work is done and the book is again ready to circulate. |
 | Here the addition has been turned 180 degrees from its position in the last illustration. We can see that the hinge structure is supple, as it is under no stress. The entire addition turns as freely and easily as a leaf. |
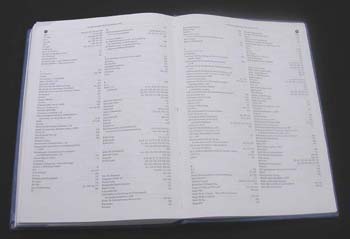 | Similarly, the addition also opens very well and lays flat. Here it is shown opened to a point near its center. |