Indiana University Libraries Book Repair Manual
Hinge Mend
Treatment Criteria:
The hinge of the book is broken. What this means is that the text block shows separation at the spine edge. This usually occurs at the very outermost pages of the text block (just inside the boards) or within a few leaves in from there, i.e., somewhere in the area(s) of the first few and/or last few pages of the book. The super may be pulled away from the text block but is fully intact. This disorder results from the original end sheets' lack of cloth hinges. This insufficiency is often combined with the use of a gauze-type super, which affords poor adhesion to the spine of the text block simply because of its lack of surface. The super pulls away from the text block, and as the end sheets have nothing except paper to offer in the way of support, they tear at the spine edge.
Tools Needed: |
Materials Needed: |
|
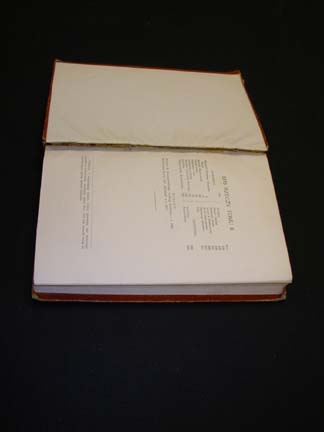
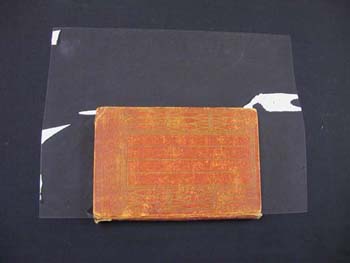
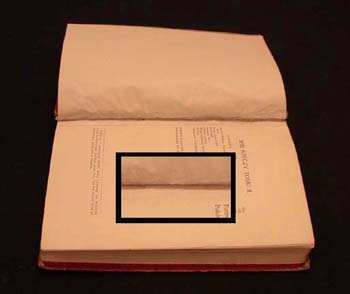
 | Here is shown a typical example of this common problem. |
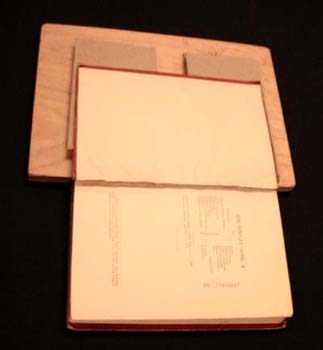 | The first step of this repair involves blocking the board up level. Flat press boards can be used for the bulk of the thickness, and scrap pieces of binders board can be used for the finer adjustments of height. |
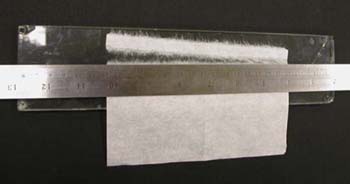
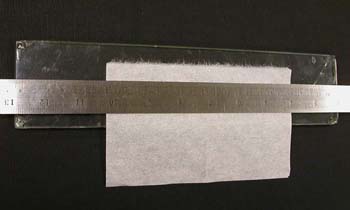 | We will be using Japanese tissue. As you can see by the fuzzy edge, it is a very long-fibered paper, which is why it is extremely strong for its weight. The fuzzy edge is desirable, as it allows the edges of the mend to be feathered out to near-zero thickness, eliminating any step at the edges. This edge is not achieved by cutting the tissue, but rather by controlled tearing. This procedure begins by placing a piece of tissue on a glass or Plexiglas board, on a cutting mat, or right on the table surface if it is smooth and won't be harmed by water. A reliable straight edge, such as this steel ruler, is placed over the tissue at the distance of the desired width from the edge. |
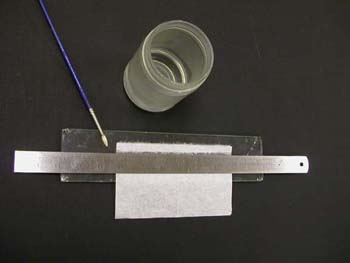 | Water is applied along the straight edge with a small brush in a thin, even line. |
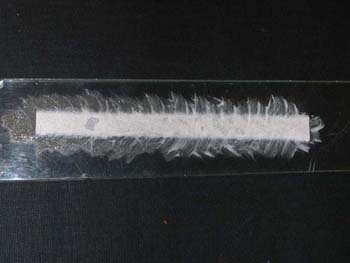
 | Here is a closer look. This tissue is ready to tear. |
 | The index finger lifts the tissue from underneath, and the thumb bears against it while positioned at the edge of the ruler. Tearing is done with a sort of pinching action, the hand rolling and the thumb moving toward the index finger. Pulling is in the outward direction (away from the edge of the ruler); pulling in the upward direction should be kept to a minimum. Moving in small lengthwise steps, the tearing continues until a strip of tissue is freed from the sheet. |
 |
Now we are ready for our adhesive. We use wheat starch paste for flat mending, but as the hinge is a three-dimensional moving part, we reasoned that the flexibility and bond strength of PVA mixture might make it a good choice of adhesive for this repair. After a considerable amount of experimentation on discarded books, we determined the results to be favorable and now use PVA mixture for nearly all hinge mending. However, on materials which are possibly of interest or value as artifacts, we always use paste.
|
 | The strip is situated so that it bridges the hinge along its entire length and overlaps by about 3/8" on both sides. It is then smoothed down with a small brush, always working outward across the edges as when applying adhesive. For better visibility, the photo was taken before the strip was smoothed down. |
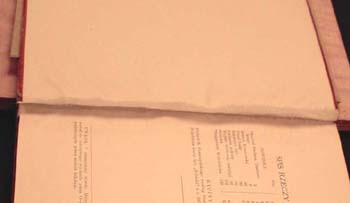
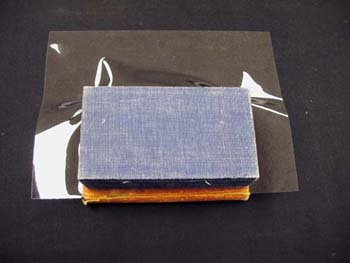
 | The book is then closed and a piece of mylar is inserted as the mask, to prevent the opposing sides of the mend from adhering to one another. Waxed paper can be used here, but only that of heavy weight. Some degree of adhesion to the mask will occur regardless of the material's adherence, so it must have enough strength to pull away from the mend without tearing and leaving fragments of mask material behind. |
 | The book is placed either under weight or in a standing press, and it is left to dry until the following day. |
 | This photo shows the finished mend, along with a closer view (inset). |