Indiana University Libraries Book Repair Manual
Tuxedo Wrapper
Treatment Criteria:
This is a utility enclosure that is used for several purposes, including protecting fragile or thin volumes. It is also useful for books that ar structurally sound but need surface protection, including those with deteriorating leather or special cloth coverings, such as velvet, or light-colored cloth with a natural finish.

Tools Needed: |
Materials Needed: |
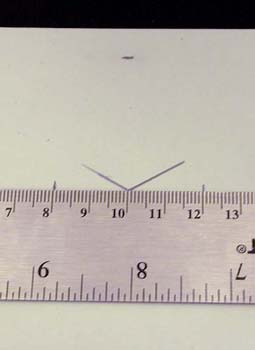
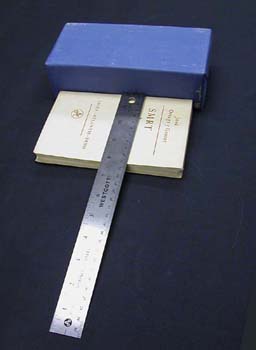 | First, the book is measured. If you are using a MEASUREpHASE, take all three measurements as usual (length, width, and thickness.)
|
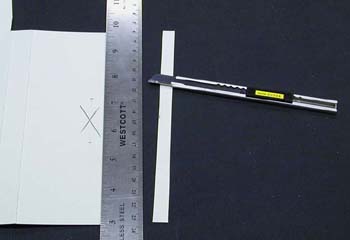
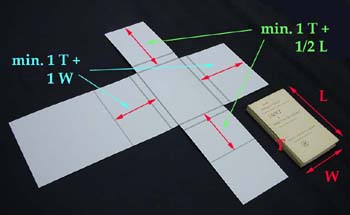 | Two pieces of 20 point folder stock are cut.
|
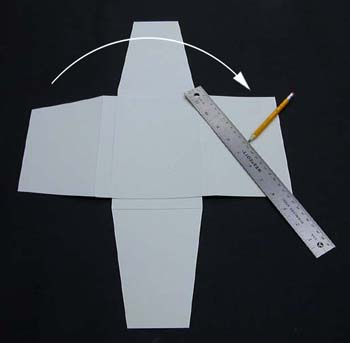
 | The two primary creases are made as shown, following the edges of "Piece A," using a bone folder. |
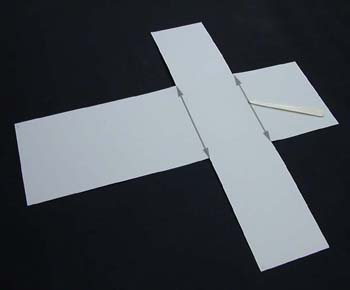
 | The two primary creases are made in the other piece of folder stock, same as in the previous step. You will need to use the straight edge this time. |
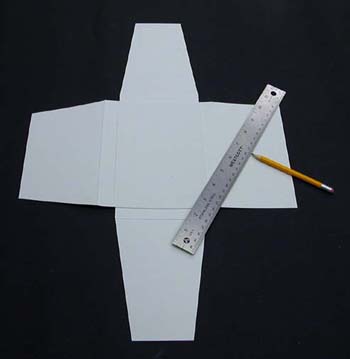
 | The secondary crease can now be marked on the first flap.
|
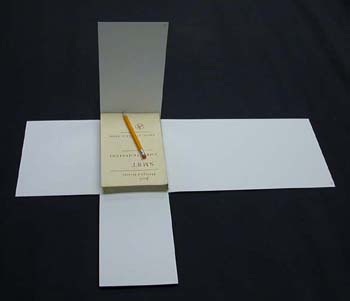
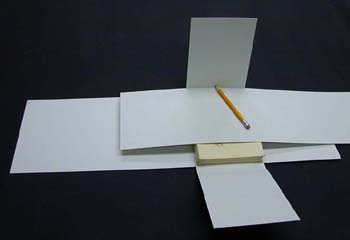 | It's a good idea to place a piece of paper over the book so it doesn't get pencil marks on it. |
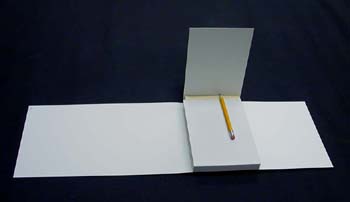 | In the order previously given, the flaps are successively marked, creased, cut to length, and folded over into closed position.
|
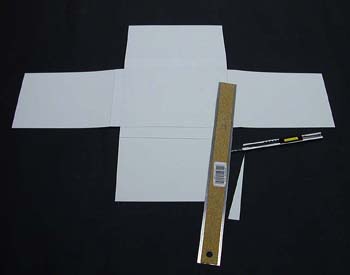 | The enclosure is flipped over so that its outside is now facing up. The first three flaps (bottom, top, and right) are each trimmed to an arbitrary angle. The cut is made from the outermost crease of the flap. The flap that will close last (the left one) is left untrimmed for now. |
 | The angle is duplicated on the flap's other side by means of using the scrap from the first cut as a template. |
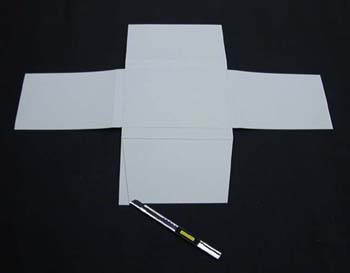
 | We now find the center of the left flap (see below) by situating a ruler diagonally and making a short mark near the middle. The ruler is aligned with the outermost crease at one end (upper left, in the image) and at the opposite corner of the flap.
|
 | The opposing diagonal is marked. |
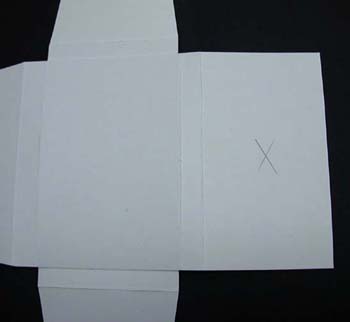 | The intersection of the two marks locates the center of the flap. It is from this point that we will be measuring in the next couple of steps. |
 | We now proceed to measure for the tab that will tuck into the opposing flap and serve to keep the enclosure closed. The tab is square in shape. For books of average size, it is about 4 cm square. Its size can of course be adjusted, depending on the size of the book.
|
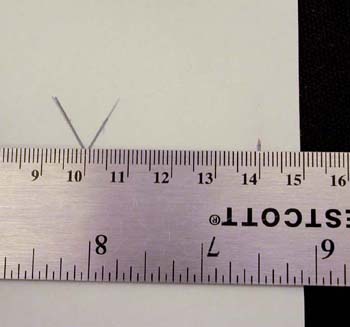
 | Next, two marks are made, each 2 cm from the center point.
|
 | The flap is cut off at the first mark we made. |
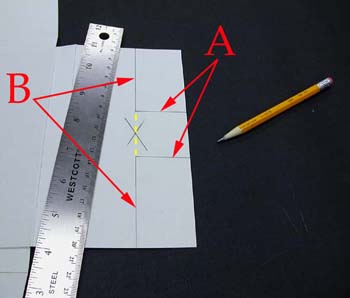 | A line is marked parallel to the flap's edge and intersecting the center point (B in the image.) Two perpendicular lines are then marked at both the points 2cm from the center point (A in the image.)
|
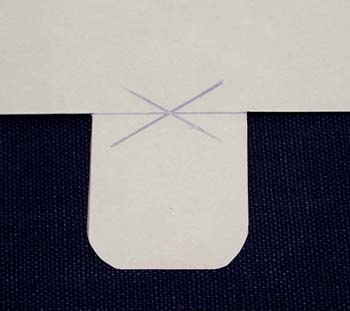
 | The flap is cut accordingly, yielding a tab. |
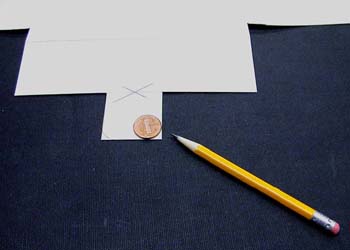 | The tab works best if the corners are rounded. The radius is not critical; a penny is about right. |
 | The corners are rounded using scissors. |
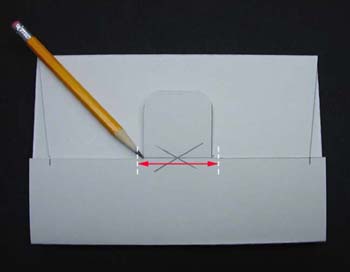 | The enclosure is folded into fully closed position. (It works well to do this with the book in it.) Marks are made as shown, in the corners at the base of the tab and in line with the width of the opposing (right) flap. The first two marks are for the slit into which the tab will tuck. As indicated by the red arrow, the cut is made a little longer than the width of the tab. |
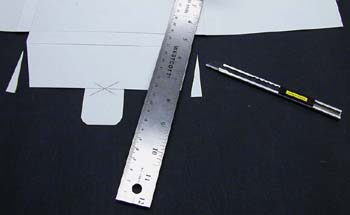 | The slit is cut in the right flap and the left flap is trimmed to angles on its outer edges as the other flaps were earlier. |
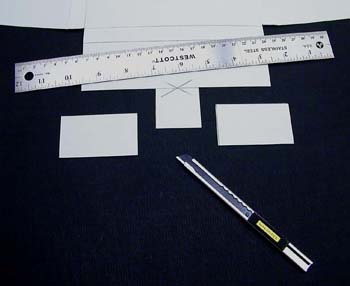
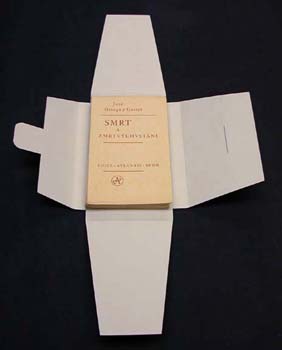 | The enclosure is flipped back over (the "left" flap is now back on the left) and the book is placed inside it. |
| The flaps are folded closed in the prescribed order, the tab is tucked into the slot, and the job is finished. |