Indiana University Libraries Book Repair Manual
Kyle Wrapper-type Enclosure
Treatment Criteria:
The wrapper-type enclosure is most commonly used for brittle or otherwise fragile materials which are too thin to accommodate the washers of a phase box and too thick for a pamphlet binder with pocket or envelope.
Tools Needed: |
Materials Needed: |
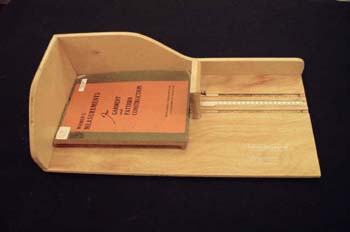
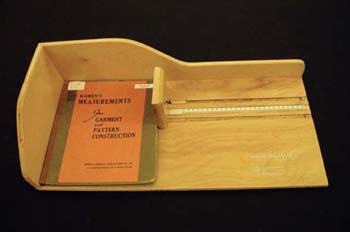
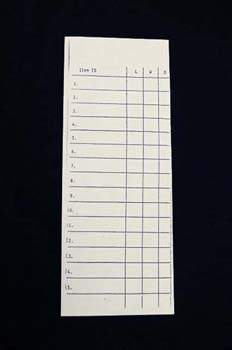 | As the wrapper is an enclosure treatment that is normally done a batch at a time, a data sheet like the one shown is helpful. First, some clue as to the title is written on each line of the "Item ID" column, to identify which piece goes with which measurements. The actual measuring process can be done with a ruler or tape measurer, but this guide illustrates the use of the MEASUREpHASE™, a handy and accurate caliper-type measuring device. The three dimensions of the book are recorded: |
 | length, |
 | width, |
 | and thickness. |
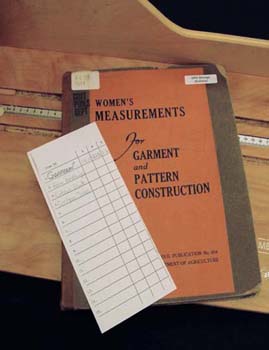 | Here we see the data sheet with the first line completed. |
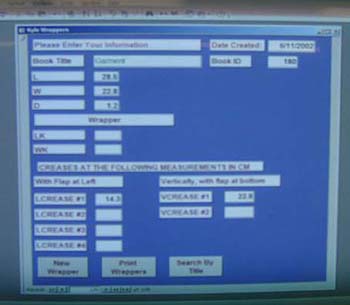 | Once all the measurements are recorded onto the data sheet, they are entered into the computer's Enclosures program. This program is one the Information Technology people here created on our request and instructions. This program instantly calculates the overall dimensions of the material needed, as well as the location of the creases. L = Length of piece being enclosed. W = Width of same. T = Thickness of same. F = Length of flap, which is half the length of the piece being enclosed, or (.5L). Overall width of material needed = W + T + 2cm. The 2cm of the width measurement is the "seam," the 2cm wide extension that overlaps and is adhered to the back of the enclosure's main body. |
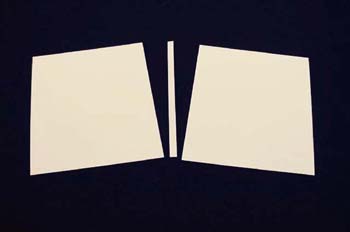
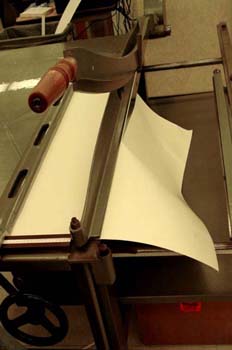 | The material used for the inner enclosure is 10-point folder stock. The grain is to run the length of the piece (grain long orientation). Here the board shear is being used to cut the folder stock to the overall width measurement ... |
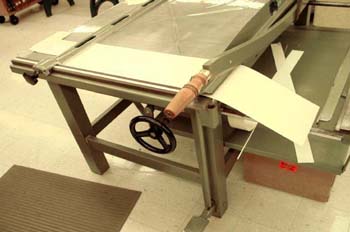 | … and then to the overall length measurement. |
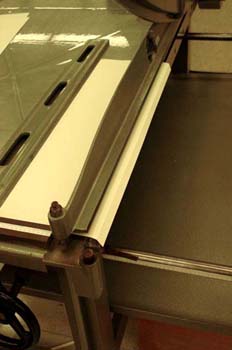 | The vertical creases are now made at the prescribed distances from the edge. Here the location of the creases is determined by setting the fence of the board shear to the proper measurement and making the crease on the outer edge of the board shear's table, using a bone folder. But this can also be accomplished by measuring, marking, and creasing against anything that is straight and has a fairly sharp edge or corner (though not so sharp that it will cut the folder stock, of course). |
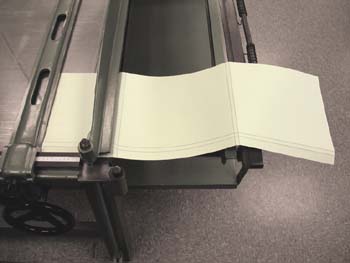 | The folder stock is now turned 90 degrees clockwise, so the vertical creases are on the side nearest you, and the horizontal creases are made using the same method as for the vertical creases. This orientation is important; if you rotate it counter-clockwise (vertical creases away from you), it won't work. Care should also be taken not to flip the folder stock over so that the surface that was up when the vertical creases were made ends up down; this won't work either. |
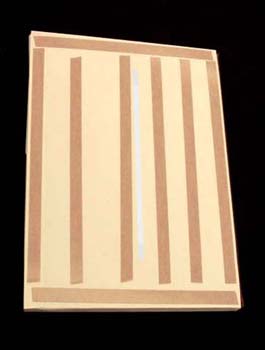
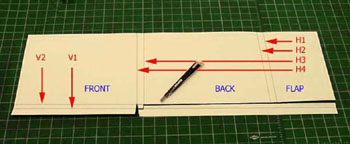 | The piece is now cut as shown. The horizontal cuts (which are vertical in the photo) are made at a slight angle. The creases are identified by the red arrows for the purpose of showing how they figure into the structure of the inner enclosure, and in blue are given the parts of the enclosure that each of the three panels is destined to become. |
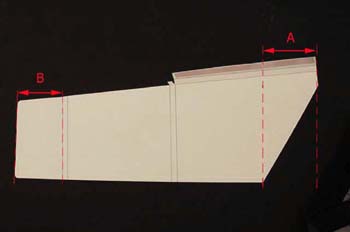 | The corners of the flap (far left end) are rounded using the corner rounder. Finally the seam is prepared for adhesion. In this example, double-stick tape is used. PVA or PVA mixture can also be used, but the tape eliminates the consideration of drying time. Finally, the front panel is cut at an angle as shown. This cut allows easier access to the material contained in the enclosure. Measurement A should not exceed Measurement B, or the flap will not cover the angled opening in the inner enclosure's front. |
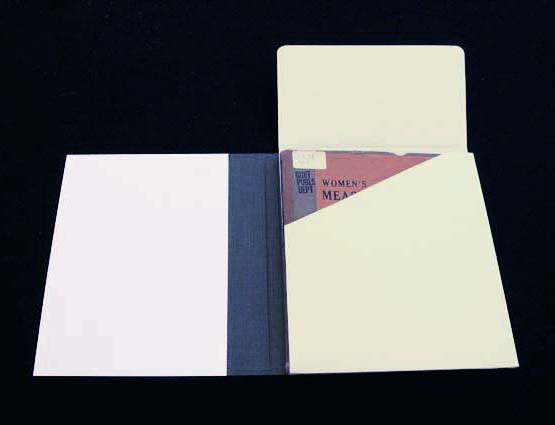
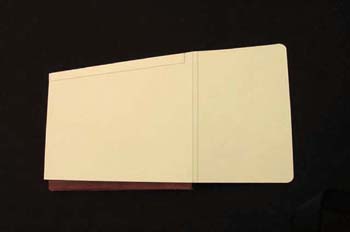 | The book is now placed in the enclosure, and the seam flap is folded around and adhered to the enclosure's back, and the inner enclosure is finished. |
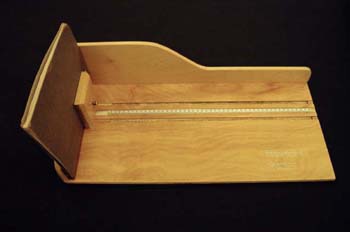
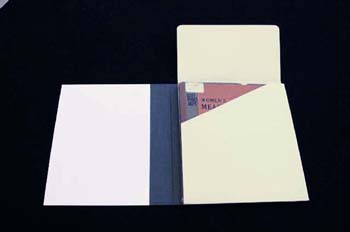
 | Here we see the finished inner enclosure with the book enclosed. |
 | The book, now housed in the inner enclosure, is measured again, enclosure and all. (Some of the measurements may not have changed, but all three need to be measured this second time.) Working from these new length (L), width (W), and thickness (T) measurements, pieces of grey/white board are cut to the following dimensions:
|
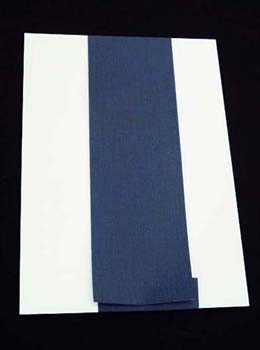 | The spine cloth (in this case 4" wide buckram) is cut to length. Length is determined by starting with a 1" overlap, snugly wrapping the cloth lengthwise around one of the boards, and ending about ¼" from the board edge, back at the end with the beginning 1" overlap. |
 | The center of the spine cloth is marked, and the spine piece of the board is affixed to the cloth, centered both ways, using PVA mixture. A spacer template is made by gluing together two pieces of grey/white board. The front and back boards are glued to the cloth, positioned so that they are each the thickness of the spacer template away from the spine piece. The boards and the spine piece are all aligned against a straight-edge (not shown). |
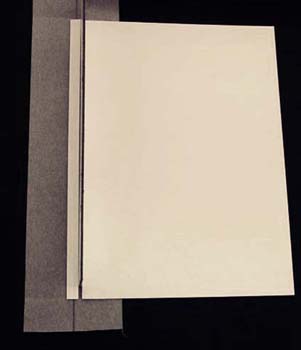
 | The 1" flap of cloth is folded over and affixed to the boards, using PVA mixture. The remaining long flap is affixed by the same means, and the spine cloth is worked into the spaces on either side of the spine board, using a bone folder. |
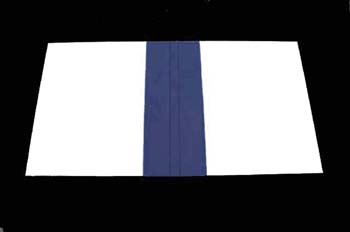
 | The back side of the inner enclosure is covered with an adhesive. In the example, double-stick tape is being used. PVA can also be used, but adds the consideration of drying time. If the material is from a collection that uses security strips, it is at that time that the strip would be attached to the backside of the inner enclosure. |
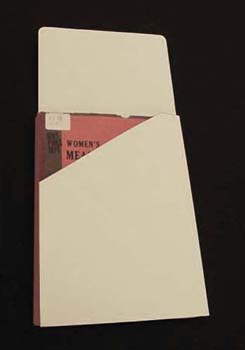
 | Here we see the finished enclosure, containing the book. |