Indiana University Libraries Book Repair Manual
Partial reback - Outside
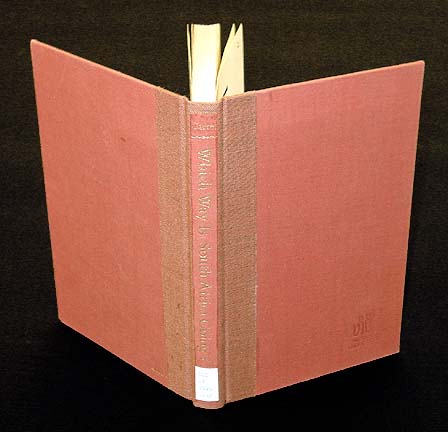
The case to text block attachment is intact, boards in satisfactory condition, cover material damaged at spine only.
There are two varieties of the partial reback (aka spine repair) treatment. One involves going over the old cover material with the new spine cloth; the other involves going under it. Which of the two methods is used usually depends on:
* whether or not one or both of the original boards bear text and/or images it is desirable to avoid covering from view with the new spine cloth and/or
* the ease or difficulty involved in lifting the book's original cover material.
The procedure documented here is for going over the original cover material (an "outside" spine repair).
Tools Needed: |
Materials Needed: |
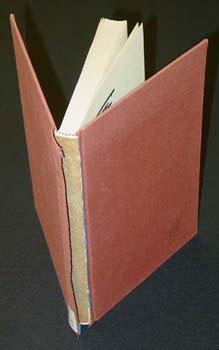 | Here we have a typical candidate for this repair treatment. The case-to-text block attachment is intact, the boards are in satisfactory condition, the cover material of the case is damaged at spine only. |
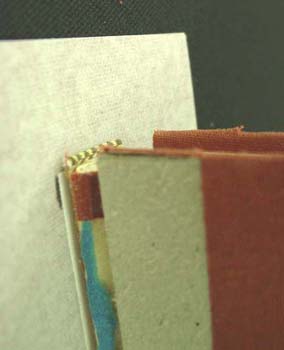
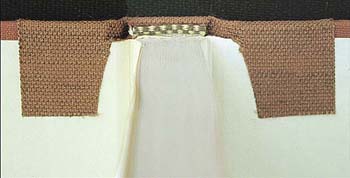
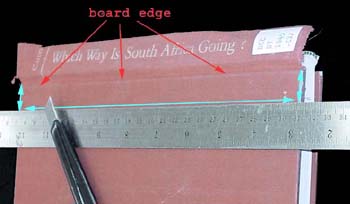 | The cover material is cut (indicated by aqua arrows), using a razor knife and metal straight-edge. The cut should be about 3/4" from the board's back edge (indicated by red arrows).
|
 | The cover material is removed within these cuts, using a microspatula. The blue material in the photo is the remains of the paper spine inlay of the old spine cloth. It isn't hurting anything by being there, as it is not loose and it is only on the text block (not on the boards). It is best not to remove it, as doing so would pose the risk of damaging the super. As noted in the previous slide, if that happens, this job has turned into a higher-level repair. |
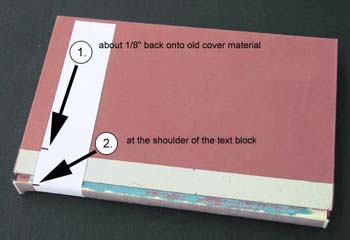 | A strip of paper 1" to 2" wide is wrapped around the spine of the book, and marks are made:
|
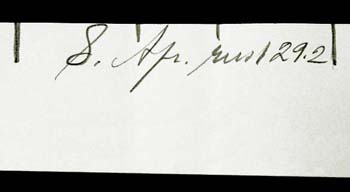 | In a conservation lab, the spine repair is a treatment that is done in batches of about a half dozen, so information for each book is written on the paper template made in the previous step. This information includes: |
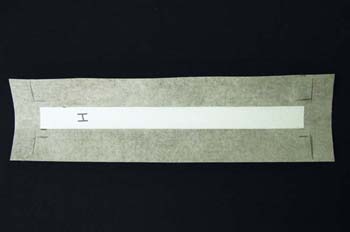
 | Here we see the paper template with all the information needed to select the cloth for a batch of 7 books, and more information can be recorded on the other side of the paper if necessary. As one might imagine, it's a lot easier to carry the paper template to the materials bins than to carry 7 or more books. |
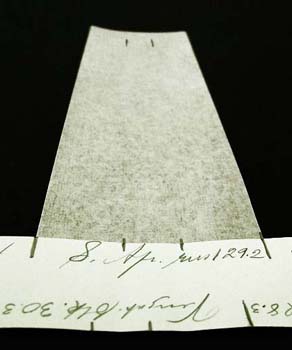 | The cloth having been selected from the bins, it is cut to length and marked in accordance with the marks on the template. The outer marks indicate the overall width of the cloth, to which width it has been trimmed. |
 | The inner marks of the template are transferred to a piece of 80 lb. text weight paper. A strip of the paper is cut to this width, the length of the book's boards, and running grain long. This paper is the spine inlay. It is glued with PVA mixture to the backside of the cloth, centered both ways.
|
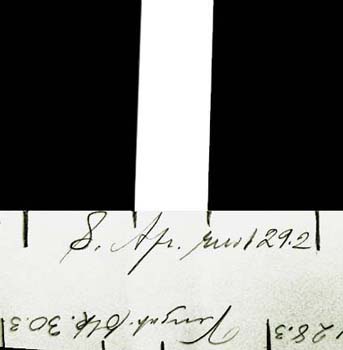
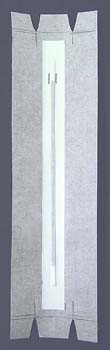
 | The cloth is positioned against the spine of the book with one end of the paper flush with one end of the text block (excluding the headband, if there is one), and with the sides of the paper flush with the shoulders of the text block.
|
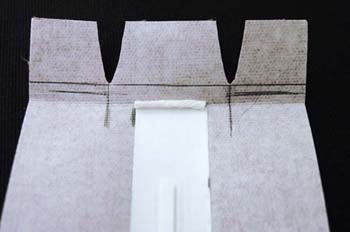
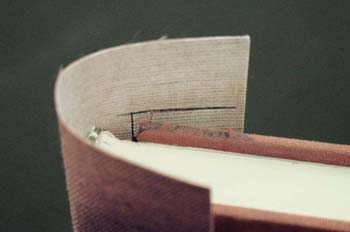 | The cloth is now wrapped around the spine of the book, and with the cloth held tightly to the book, marks are made indicating the corner formed by the top and back edges of the boards. (The cloth has been pulled away from the book in order to make the mark at the back of the board visible. As mentioned, it is held tightly against the book while actually being marked.) |
 | This marking is now repeated at the other end of the book and cloth. The result should look like the illustration. |
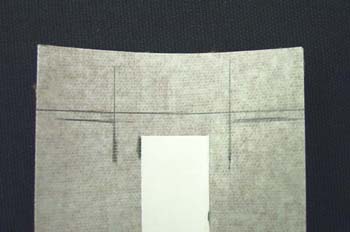 | Now additional lines are marked, using the horizontal (top edge) and vertical (back edge) lines traced from the board corners. A line is marked one board thickness outside the horizontal line, and the vertical lines are simply extended outward. |
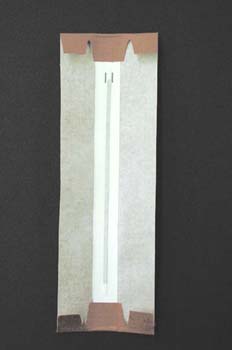
 | Cuts of the shape shown are made in the ends of the cloth. These cuts are dissected by the vertical lines and stop at the outer horizontal lines. The cuts are made using scissors, and the blunt point of the cut's inward end makes the turn right at the intersection of the horizontal and vertical lines. Care is taken not to cut inward beyond the outer horizontal line. |
 | The cloth is folded across its width at the ends of the spine inlay, and a piece of cotton twine is laid in the fold. The length of the twine is the width of the spine inlay. The purpose of the twine is to reinforce the cloth, particularly at the book's head end, where it is sometimes hooked by a finger for removal from tight shelving. |
 | The cuts made previously formed the ends of the cloth into three tabs. The center tab only is now folded over double and glued down. The twine needs to stay back in the fold. After gluing the tab down, it is raked with a bone folder to tighten the bond, and the edge of the folder is used to define something of a crease along the twine's inner edge. |
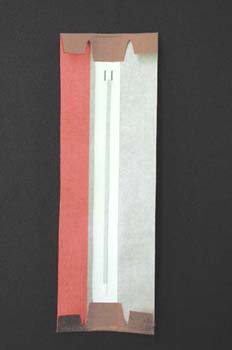 | PVA mixture is applied to one side of the cloth, stopping at the board edge line. Normally, stopping about ¼" from the edge of the paper spine inlay is an accurate enough approximation. The red shaded area in the illustration indicates the area to which the adhesive is applied. No effort is made to glue the undersides of the tabs yet, though some adhesive will get on them, and that is fine. |
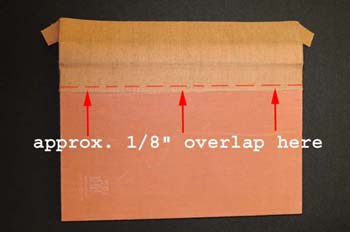 | The cloth is now positioned on one side of the book. The new cloth is to overlap the old by about 1/8" (remember, 1/8" over on the old cloth is where we made the mark on the paper template for the new cloth's overall width).
|
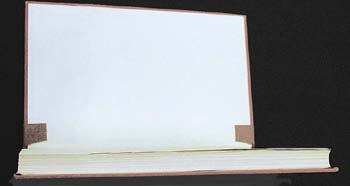 | The tabs are now glued down, and the inside view of the board should look like the one in the illustration. The procedure is repeated on the book's other side. |
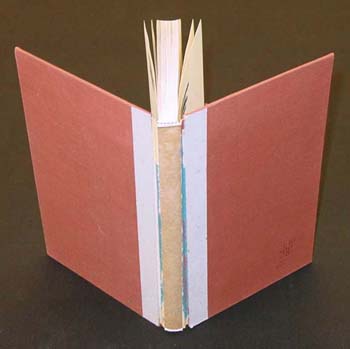
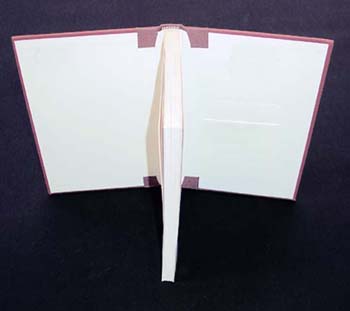 | The new spine is now installed, and the inside view should look like this. |
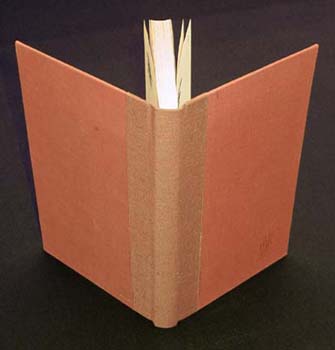 | And here is the outside view. |
 | The goal in the way of fit is making certain that the corners of the boards are covered and that no bare board is left exposed. The illustration shows a well-executed example. |
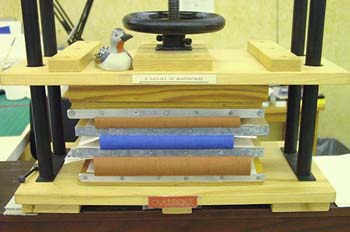 | The book is now placed in a standing press, between edge boards, until the next day. |
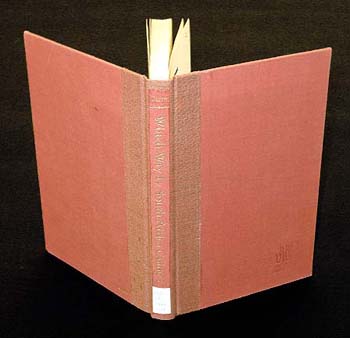 | If the original cover's spine is salvageable, it is trimmed and the backside cleaned of old paper, and it is mounted to the new cloth, as shown in the illustration. If not, a new spine label is made. If the book had a call number label attached to the front board it is now re-attached or a new one is made and attached, depending on whether or nor the original one label was salvageable. |
 | The book is finished and ready for circulation. |